
How to Sharpen Serrated Knives
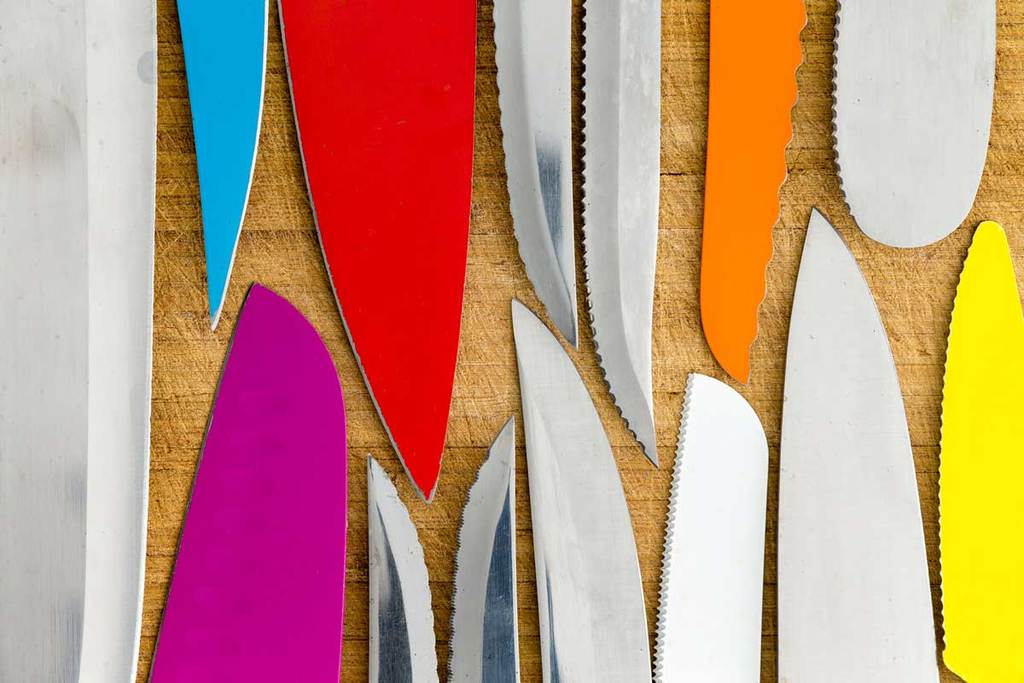
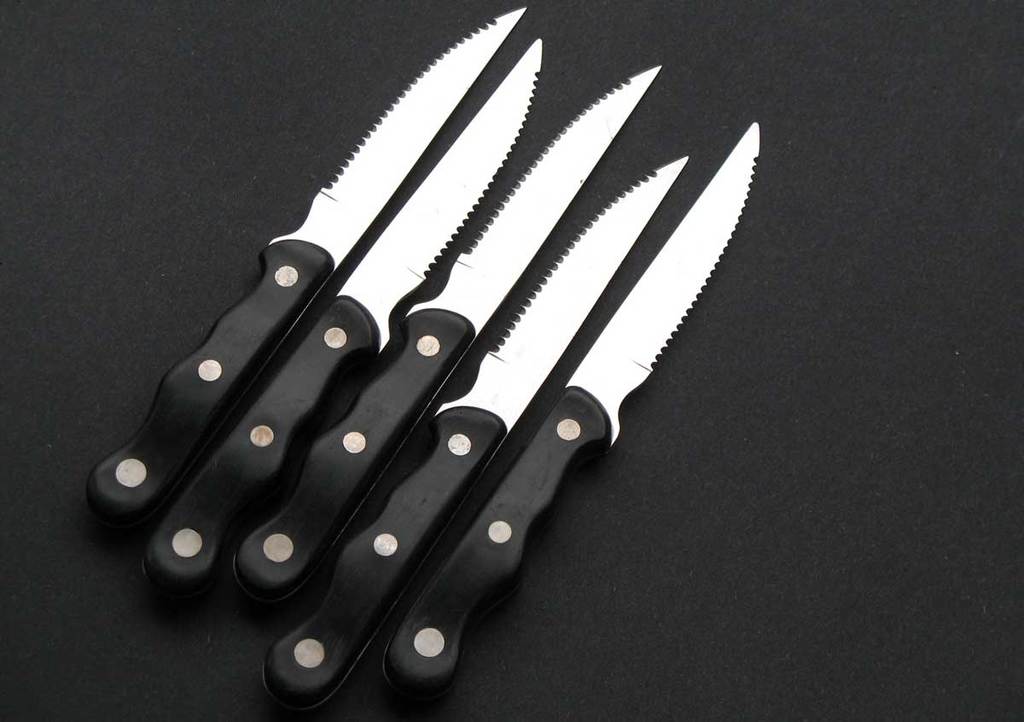
What is a serrated knife, you ask? It’s a knife with a serrated blade, which is a type of blade that is often used for saws, along with some knives and scissors. It is usually a toothed blade, and its cuts are often less smooth and precise than those made with a smooth knife.
Contrary to popular belief, it’s not impossible to sharpen a serrated knife. There are many techniques used to sharpen serrated knives, though not every serrated knife is worth sharpening. You might own a cheap, low quality serrated knife. In most cases, you’ll find that you’re better off buying a new serrated knife rather than spending a lot of money repairing your old ones.
These knives are usually called “throwaway knives,” which means that once they’ve become dull and ineffective, you should replace them instead of trying to repair them. Everyone usually starts off with these knives in life, but that’s okay.
Learning to sharpen a serrated knife is a bit different than sharpening a regular knife. For one thing, because of the jagged edge of the knife, most of the blade does not even get to touch the surface on which you’re cutting (a cutting board, for example). This improves the life of the blade, which means you don’t have to sharpen it as much you would a regular knife. But once the knife starts to wear out, there would be a noticeable difference in its performance. For example, it may not neatly slice through food anymore.
So, without further ado, let us share three different methods you can use to sharpen a serrated knife, with small variations between each method, based on the level of difficulty and the amount of time they require. We’re going to discuss each method one by one. Let’s start with the most difficult one and move to the easiest. Obviously, the method you choose will have to do with personal preference, what kind of knives you own, and what sort of condition they’re in.
Method 1: Honing Using a Ceramic Rod
This method is one of the most rudimentary ways to sharpen your serrated knives, especially if they have not been honed for quite some time. This method is very time intensive and challenging. On the other hand, it remains one of the most inexpensive ways to sharpen your knives, since ceramic rods are usually cheap. Here’s a step-by-step guide you can follow to use this method.
Step 1:
Grip the knife with the tip facing away from you. Place the ceramic rod between each serration in such a way that it matches the angle of each serration to the maximum extent possible.
Step 2:
Once the ceramic rod is in the aforementioned position, pull the rod through the serration. Also, it is safer to pull the rod in one direction than to move it up and down repeatedly, increasing the possibility of receiving cuts from the sharp edges of the knife.
Step 3:
Replicate the above steps for each serration several times. This step will obviously take a lot of time but it will also make your knife good as new.
Step 4:
It is suggested that a leather strop be used to remove any burrs and give a polished look to your sharpened serrated knife.
These are all the steps you need to follow to hone the edges of your serrated knife on both sides. This method remains one of the most preferred ways to sharpen a serrated knife despite it being a little time intensive.
Method 2: Honing Using Spyderco Sharpmaker
Here is another method that is quite similar to the ceramic rod method and follows similar steps. However, this requires a special tool, the Spyderco Sharpmaker.
Due to its universal applicability to all knives, this method is especially preferred by those associated with the culinary professions and sportsmen alike. The Spyderco Sharpmaker is a bit more costly as compared to the ceramic rod method, yet still is quite affordable.
Step 1:
Place the Sharpmaker on a table and insert the triangular shaped rods into the holders built in the tool. Ensure that the knife’s serrated side is facing the pointed side of the rod and the knife’s flat side faces the flat side of the rod.
Step 2:
Carefully move all sides of the knife against the rod repeatedly, preferably in one direction. Make sure the knife is slightly angled for the rod. The pace of your movement needs to be slower on the serrated side of the knife.
Step 3:
On the blade’s serrated side, tilt it so it is commensurate with the serration angle. On the other side, adjust the angle such that the rod will remove burrs, if any, without making hard contact with the knife’s surface. Repeat the process mentioned in Step 2 several times on each side.
Step 4:
Once the knife has been sharpened, move both the sides of the knife on a leather strop to give it a polished finish and to get rid of any burrs.
This method takes less time as compared to the ceramic rod method and is also less difficult. However, it is slightly more expensive, but if you value time and have a desire to make things easier for yourself, this method comes in handy.
Note: The above-mentioned methods are more suited to serrated knives that have not been sharpened in a long time and are rendered dull. The upcoming methods, on the contrary, are better suited for maintenance and honing regularly as opposed to repairing dull knives, and may be practiced on a regular basis to maintain a sharp edge.
Method 3: Work Sharp’s Knife and Tool Sharpener
This method is more of an upkeep method and is well suited for sharpening and polishing serrated knives that have not been dulled and worn out. The Work Sharp’s Knife and Tool Sharpener is a tool that can work with belts of several different types. Keeping in mind the sheer maintenance purpose of this method, the belt you shall use on this tool is 6000 grit belt only. Anything rougher will wear out the scallops in the knife.
Step 1:
These steps are a general guide. It is first and foremost advised that you read the instructions that come with the sharpener tool in case you’re using a knife which requires a specific procedure to follow.
Step 2:
Mount the aforementioned belt on the sharpening tool.
Step 3:
Once the belt has been installed, move the side of the knife that is not serrated against the belt. To do this, you may either simply place the knife from the end and pull backwards or move the knife back and forth to get a sharpened edge.
To sum up, this method is extremely easy and a quick fix if you merely want to maintain the sharp edges of your knife. In the event you need to sharpen a dulled blade with worn out scallops, this method will not be very effective. Plus, as compared to this method, the methods mentioned above will have a more enduring polish and sharpness.
Method 4: Electric Serrated Knife Sharpener
This method bears much resemblance to Method 3. This method is more expensive, but quick and less time consuming. The primary point of departure between this method and the one mentioned immediately above is the feature Chef’s Choice 15 Trizor XV EdgeSelect and Chef’sChoice 4643 ProntoPro Diamond Hone Manual Knife Sharpener built-in guides. This makes adjusting the knife’s bevel easier, but it poses a compromise on applicability on all sorts of tools.
This tool is unparalleled if you want to sharpen all your serrated kitchen knives using similar bevel adjustment, and for serrated blades that don’t require specific procedures to sharpen them. In the latter case, Method 3 is a much better option by comparison.
Step 1:
It is advised that you first read instructions to understand the correct way to sharpen your serrated knife with the electric knife sharpener. Most of these sharpeners use a 3-stage sharpener, where you will sharpen your knife using the third stage.
Step 2:
Simply place the blade in the third stage guide and move the blade to its entire length in the guide. Repeat this several times (4-5) alternating the sides of the blade.
Conclusion
All in all, using a knife sharpener is a fairly easy method to hone your serrated knives and ensure their edges are sharp and polished. However, it is advised that you follow the instructions, since procedure varies by the model you’re using.
